strawberry-banana pancakes

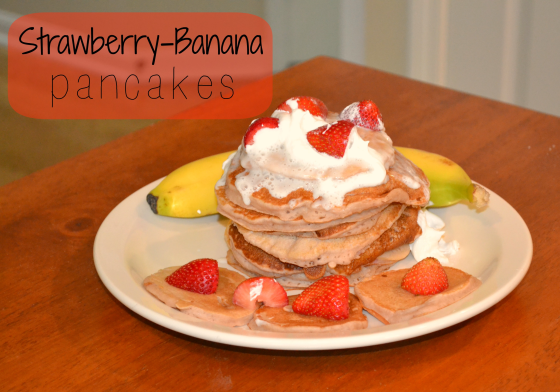
untitledWho doesn’t love a nice flapjack in the morning? My husband and I make breakfast for lunch almost every Sunday after church. We usually make chocolate chip pancakes, but this week we were heading home (with our 5 week old) and I suddenly remembered we were out of chocolate chips (gasp!). We didn’t want to stop at the store with Isaiah in the car, because he was hungry and, frankly, we were too . I thought to myself, “How can we make our pancakes flavorful with what we’ve got at home?” Because honestly, I hate plain pancakes. Sorry, but I was just not raised on plain. I remembered we bought strawberries at the store the previous day and we ALWAYS have bananas on hand, so I thought this would be the perfect combination AND make our usual pancakes a lot healthier! They were absolutely the best pancakes I’ve ever made!

I used a standard pancakes recipe and added in the fruit. If you have a recipe for pancakes that you use and is different from mine, use yours and just add the strawberry and banana puree to that! No hard feelings.

Yields: 10 medium pancakes

Prep time: 15 minutes

Cooking time: 10 minutes

Ingredients

  • 2 tablespoons white vinegar

  • 3/4 cup milk
  • 1 cup all-purpose flour

  • 2 tablespoons white sugar

  • 1 teaspoon baking powder

  • 1/2 teaspoon baking soda

  • 1/2 teaspoon salt

  • 1 egg

  • 2 tablespoons butter, melted

  • 1/2 carton of strawberries (stems cut off, of course!)

  • 1 1/2 bananas

Directions

  1. Combine milk with vinegar in a medium bowl and set aside for 5 minutes to “sour”.
  2. Combine flour, sugar, baking powder, baking soda, and salt in a large mixing bowl. Whisk egg and butter into “soured” milk. Pour the flour mixture into the wet ingredients and whisk until lumps are gone.
  3. In a food processor or blender, puree the strawberries and bananas. Add the fruit to the pancake mixture.
  4. Heat a large skillet over medium heat, and coat with cooking spray. Pour 1/4 cupfuls of batter onto the skillet, and cook until bubbles appear on the surface. Flip with a spatula, and cook until browned on the other side.
  5. Top with cool whip and strawberries.

So delicious. Enjoy!

pumpkin spice chocolate chip cookies

DSC_1269

How could you not already fall in love with these cookies just from the name? This simple fall treat will not disappoint your family or guests. With three (you read right…THREE!) simple ingredients, you can make these cookies in 15 minutes or less!

I made these over the weekend for a get together and they were delicious. They are not my original recipe, but they’re too good not to share.

Ingredients:
1 box spice cake mix
1 8 oz can pumpkin filling
1 C. Chocolate chips

Directions:
Preheat oven to 350 degrees
Mix the spice cake mix and pumpkin filling together until fully combined
Add chocolate chips to the mixing bowl
On a greased cookie sheet, place spoon fulls of mixture 2 inches apart
Drop cookie sheet on flat surface several times to flatten the cookies a bit
Bake for 8-10 minutes

They are easy to make, clean up after, and eat the whole tray…I mean serve to others. Enjoy!

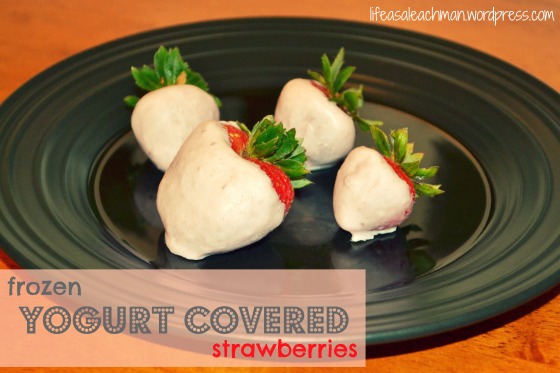
frozen yogurt covered strawberries.

Want a new twist on an old favorite? Growing up, chocolate covered strawberries were my favorite dessert. Now that I’m a few years older and always looking for healthier options on desserts (other than Oreos, cause you just can’t miss out on those), I decided to try making YOGURT covered strawberries. They are just as delicious and way more nutritious!

DSC_0822

All you need to make this tasty snack is a carton of strawberries and your choice of yogurt.

DSC_0805

I went with a mixed berry greek yogurt from yoplait. It’s one of my favorites and fitting since I’m covering berries with it.

First, cover a baking sheet or plate with wax paper.

DSC_0808

Then, you’ll want to rinse the strawberries (always rinse your fruit before eating!) and then lightly dab them with a paper towel, because the yogurt will stick better when it’s dry.

DSC_0811

Once you’ve dried off the berries, dip each one at a time, into the yogurt container and make sure to get a nice thick, even coat on all of them.

DSC_0814

Place each one on the wax papered baking sheet.

DSC_0816

When you have finished dipping all of  the berries, place them in the freezer for approximately 2-3 hours. After they’ve frozen, pop them off the wax paper and ENJOY! They are so delicious and flavorful! AND you don’t have to feel guilty after eating them or ruin a good workout…that’s my faovrite part.

You can do this with almost any type of fruit…blueberries, grapes, raspberries, even sliced up bananas would be great. Also, there are SO many different flavors and types of yogurt out there. Any combination would be fantastic. Experiment and see which is your favorite!

delicious and easy mexican casserole.

If you haven’t figured it out by now, Mexican is my favorite genre of food to make AND eat. I could eat it all day, everyday. Well maybe not that much, but I do love it. That being said, I made a new dish the other day, which I like to call Mexican Casserole. It was super easy, provided enough left overs for a week, and was absolutely delicious! If you like Mexican food, you HAVE to try this.

Ingredients:

photo

  • 1 cup shredded chicken, cooked [leave out for vegitarian option!]
  • 1 small white onion, diced
  • 1 green bell pepper, diced
  • 1/2 jar salsa of your choice
  • 1 (15 oz) can black beans, drained
  • 1 (15 oz) can diced tomatoes, drained
  • 1 cup frozen whole kernel golden corn
  • 1 small bag “Ready Rice” (instant/minute rice)
  • 1 large bag tortilla chips of your choice

Directions:

  • Preheat oven to 350 degrees
  • Heat 1 T. olive oil in skillet over med-high heat, add onion and green pepper
  • Cook 3-5 minutes
  • Add chicken, salsa, rice (you do not have to pre-cook the rice – it will cook in the skillet), beans, tomatoes, and corn to skillet

photo (1)

  • Cook ingredients for about ten minutes or until all vegetables are tender and rice is soft
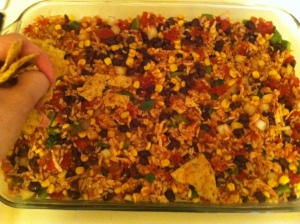
  • Toss all the ingredients from the skillet into a 9×13 sprayed baking dish
  • Spread out evenly in the dish
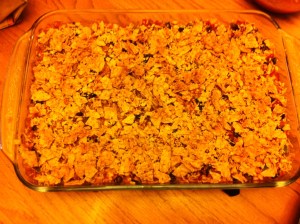
  • Crumble tortilla chips on top of casserole

photo (2)

  • Bake in oven for 25-30 minutes, depending on your oven

photo (3)

  • Serve with shredded cheese and sour cream

This is sure to be a winner, even for stubborn children and husbands. Enjoy!

Just a side note: If you want to mix it up a bit with the leftovers, spoon the ingredients into soft tortilla shells and cook them in a sprayed skillet for about ten minutes, or until each side of the tortilla is lightly browned. It’s easy and gives it a little twist, so you don’t get sick of it.

eight easy easter eats.

Whew, that title right there is alliteration at it’s finest…if I do say so myself.

First off, I just want to say HAPPY GOOD FRIDAY! Do we have an awesome Savior or what?! PTL!

Secondly, If  you know me at all, you know that I loooove (with a capital L) desserts. I can’t go many meals without one and in fact, I’ve been known on occasion to eat my dessert before the meal. Judge on, friends.

So, I’m here today to give you some hopefully helpful ideas for delicious desserts you can make this Easter weekend to impress your friends and family with (note: these are not my recipes – links will take you to them).

dessertcollage

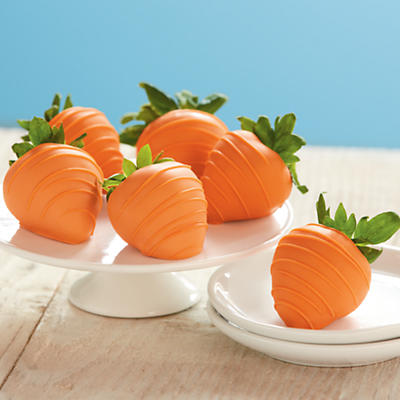
Chocolate Covered Strawberry Carrots

carrotss

Rice Krispie Easter Egg Baskets

Rice-Krispie-Easter-Baskets

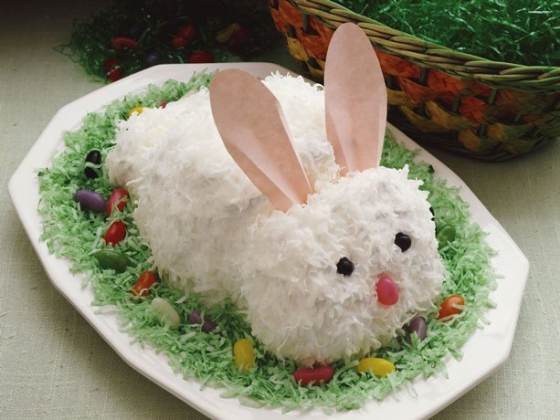
Bunny Cake

untitled

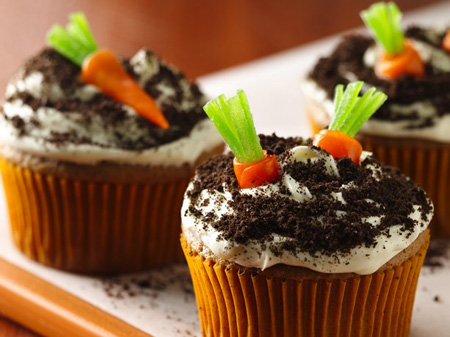
Carrot Cupcakes

carrots

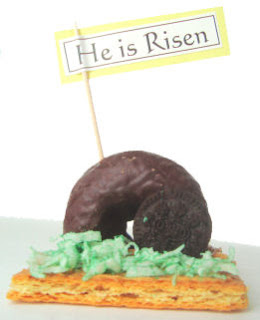
Tomb Stone ‘He is Risen’ Snack

tomb

Bunnies and Carrots

peeps

Easter Egg Cake Pops

pops

Jelly-Bean Bark

bark

I hope this gave you some inspiration and a tasty dessert to end your meal on. Have a happy Easter!

Enjoy!